How to Create a WordPress Blog Using Hostinger [Step By Step Guide]
In this Guide, I’ll share each steps that required to build a Professional WordPress Website.
Even if you’re a beginner.. Don’t know much about WordPress installation, themes, plugin etc..
As you know, For Website you need Hosting and Domain required.
I’m here to Build a WordPress Website Using Hostinger as a Partner..
Ok Let’s Start! Follow Each Steps and Create your own website..
It could be Blogging, Portfolio or Business website..
But here I’ll guide how to build a WordPress Blog Website (Eg: GeneratePress Blog).
Step 1 – Sign Up for a Hostinger Account & Choose a Hosting Plan
First go to official website hostinger and sign up directly using your Gmail account.

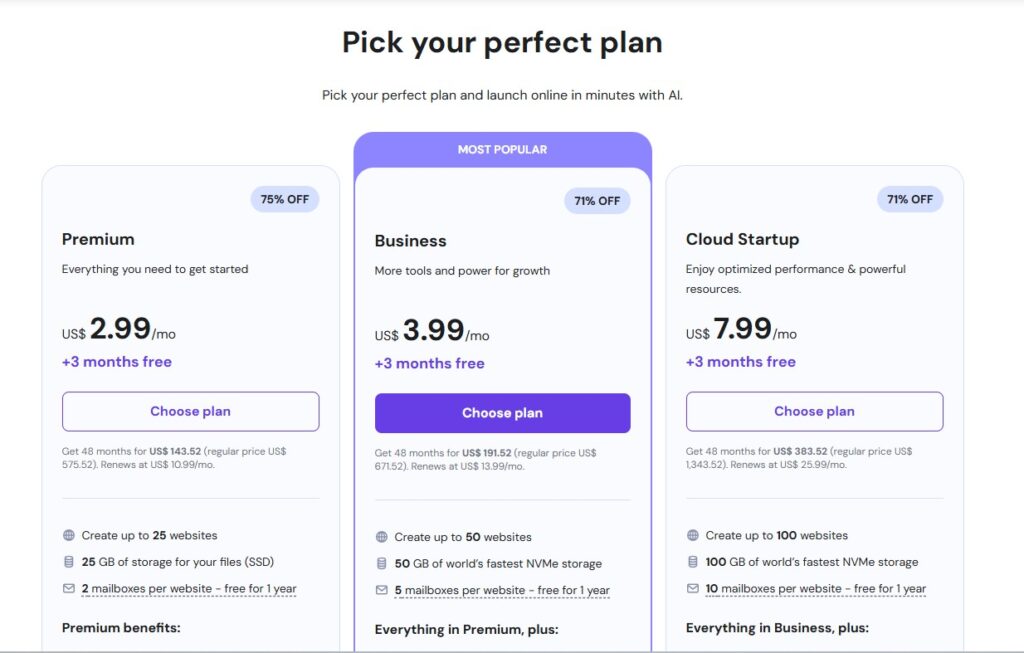
Now Choose a plan (Single, Premium, or Business WordPress) as per your needs.
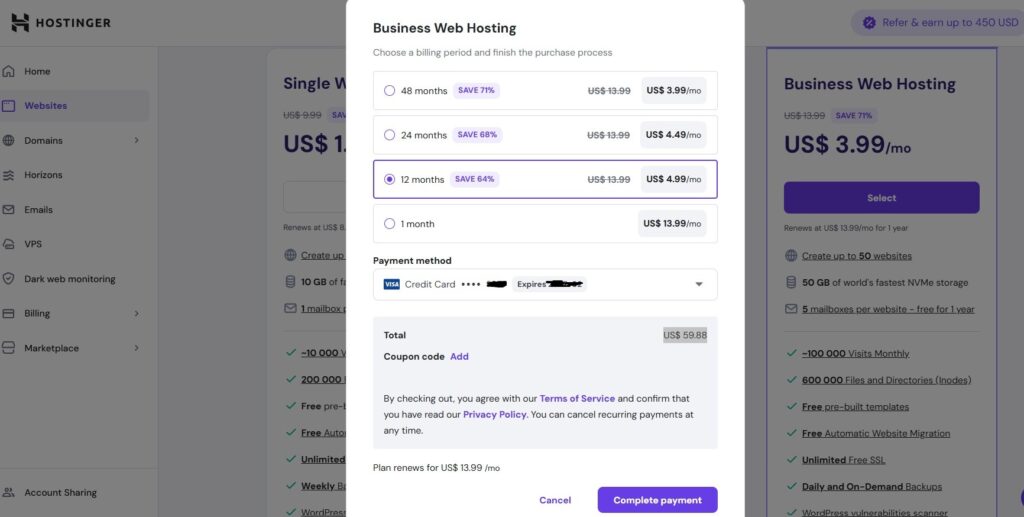
Now Proceed with Payment. You can select 1 YEAR OR 2 YEAR at least so you don’t need to Pay month wise..
Tip: Premium or Business is best if you want free domain + better performance.
Step 2 – Install WordPress via Hostinger hPanel
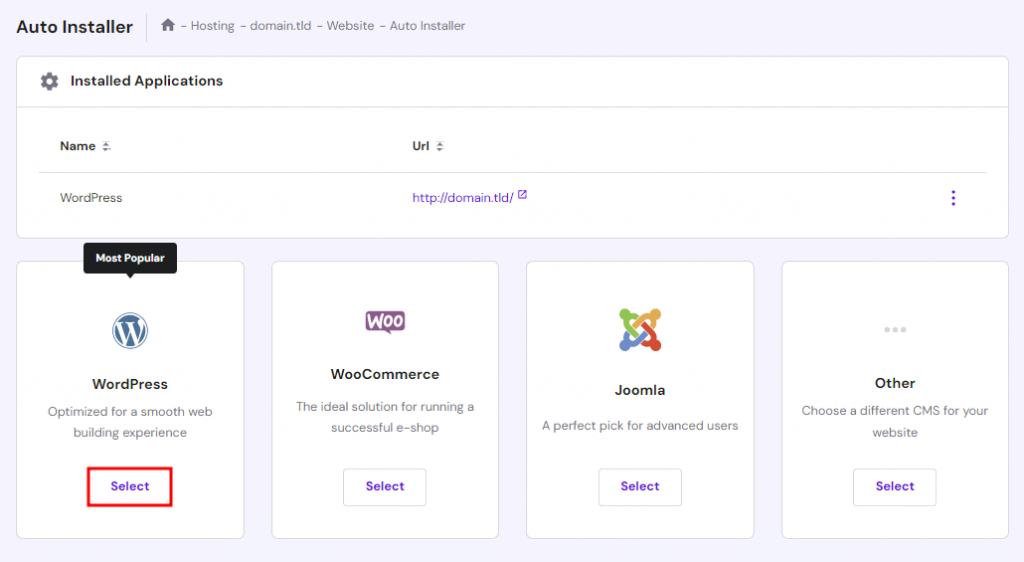
- Go to Website → Auto Installer from hPanel and select WordPress.
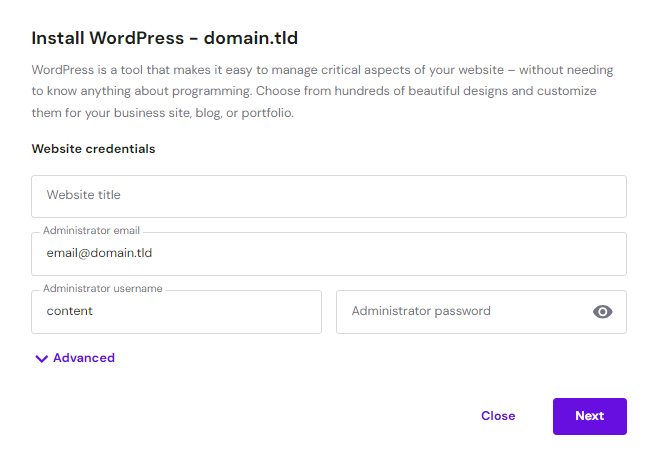
- Enter the site title, email address, username, and password for WordPress login. Click on Next.
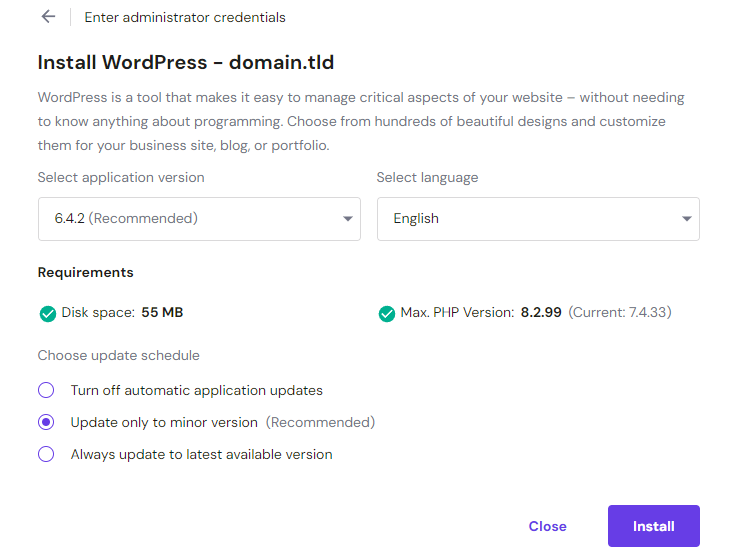
- Now Set recommended application version, language, and update schedule. Choosing the Update only to minor version option for automatic updates. Once done, click Install.
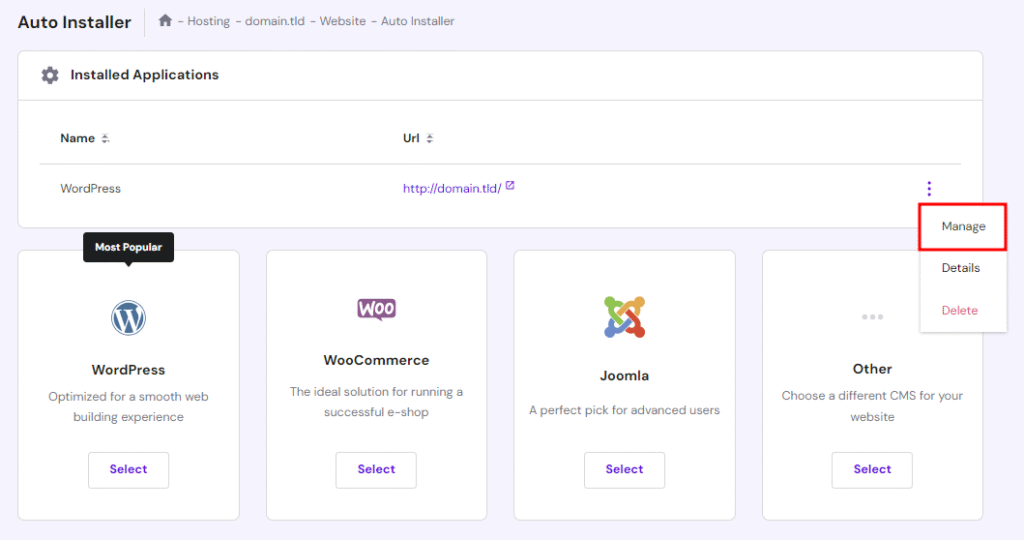
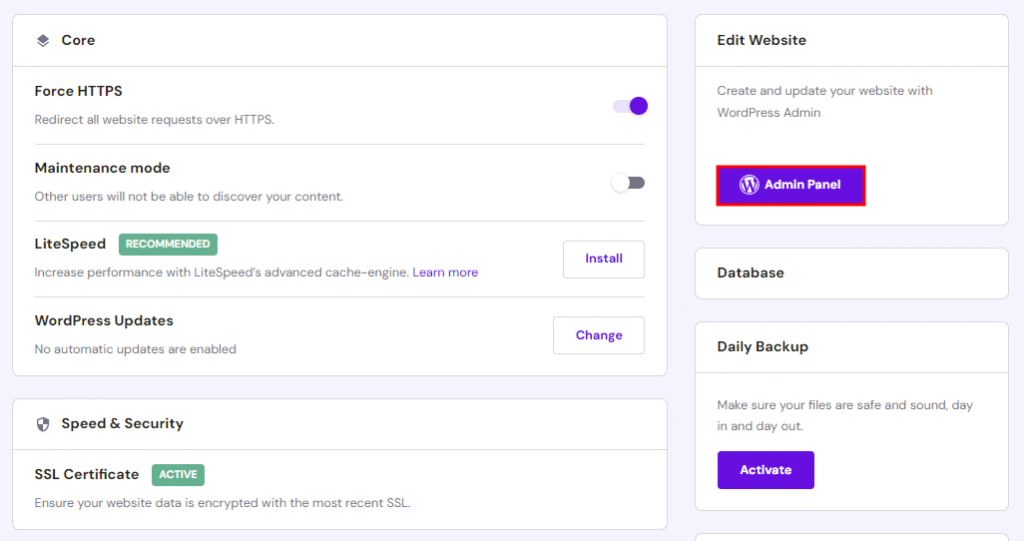
- Your installed WordPress instance will appear in the Installed Applications section. Now Click on the three dots next to your WordPress URL and select Manage to enter into the hosting dashboard area.
- Click the Admin Panel button to access the WordPress admin dashboard.
Step 3 – Access Your WordPress Dashboard
Once you install WordPress, log in to your website using your username and password.
- Enter your username or email and password that you set during installation.
- Click the Log In button.
- If your credentials are correct, you’ll be redirected to the WordPress Dashboard (Admin Panel).
- From the dashboard, you can manage posts, pages, plugins, themes, and settings.
Step 4 – Choose and Install a WordPress Theme
After Setup Hosting and Configure everything.. Now it’s time to install WordPress theme.. I assume you’re on the WordPress dashboard now.
Go to Appearance > Click on Themes >>Now go to Add Theme
Search for a free theme like Kadence or GeneratePress, or upload your premium theme if you have one.
Once you upload the theme, it’s time to customize it.
Step 5 – Customize Your Website’s Appearance
Once access to WordPress dashboard area, Now customize your website theme that matches your brand.
The WordPress Customizer makes it easy to adjust design settings in real-time without needing coding skills.
- Go to Appearance → Customize in your WordPress dashboard.
- Change your site title, tagline, and logo for branding.
- Select and modify your theme colors, fonts, and layouts.
- Use the Menus option to organize navigation links.
- Adjust widgets (sidebar, footer, header) to add useful content.
- Preview changes live before publishing to make sure the design looks good.
Step 6 – Install Plugins
Plugins will help your blog’s performance, security, and SEO. The right plugins makes your site faster, rank fast, and more user-friendly.
- Yoast SEO or Rank Math – optimize content for search engines
- WP Rocket or W3 Total Cache – improve speed and performance
- UpdraftPlus – backup your site regularly
- Wordfence Security – protect against malware and attacks
Step 7 – Create and Publish Your First Post
Select a topic and write about it for your audience.
Go to Posts Section >> Add New Posts >> Add Title, Write content, Use SEO Keyword, Add Thumbnail Image and Publish.
- Use a Attractive SEO Optimized title
- Write in short paragraphs
- Add headings (H1, H2, etc.)
- Use images to explain better
READ: How to Create a Blog Post on WordPress
I hope that after following the above steps, you will be able to design and create your first WordPress blog website using Hostinger. This is just the beginning—keep exploring customization options, plugins, and SEO practices to grow your site and follow this blog for more guides.
FAQ’s
No, Hostinger provides a one-click WordPress installer, so no coding is required.
You can get your website live within 10–15 minutes.
Yes, Hostinger plans include a free domain for the first year.
Yes, Hostinger’s dashboard and WordPress integration are designed for beginners.
Yes, you can install multiple free and premium plugins and themes easily.